AI Rotoscoping Software: How To Animate with Neural Frames
Rotoscoping is a classic animation technique dating back to the early 20th century. Filmmakers work with animators to illustrate over live-action footage, one frame at a time, transforming the original imagery into something new.
In this article we'll share our favorite AI rotoscoping software, with a step by step tutorial and video demos showing you how it works.
What is rotoscoping?
The look and feel of this technique can vary quite a lot, depending on what the producer is trying to achieve. We'll share two of the most common examples.

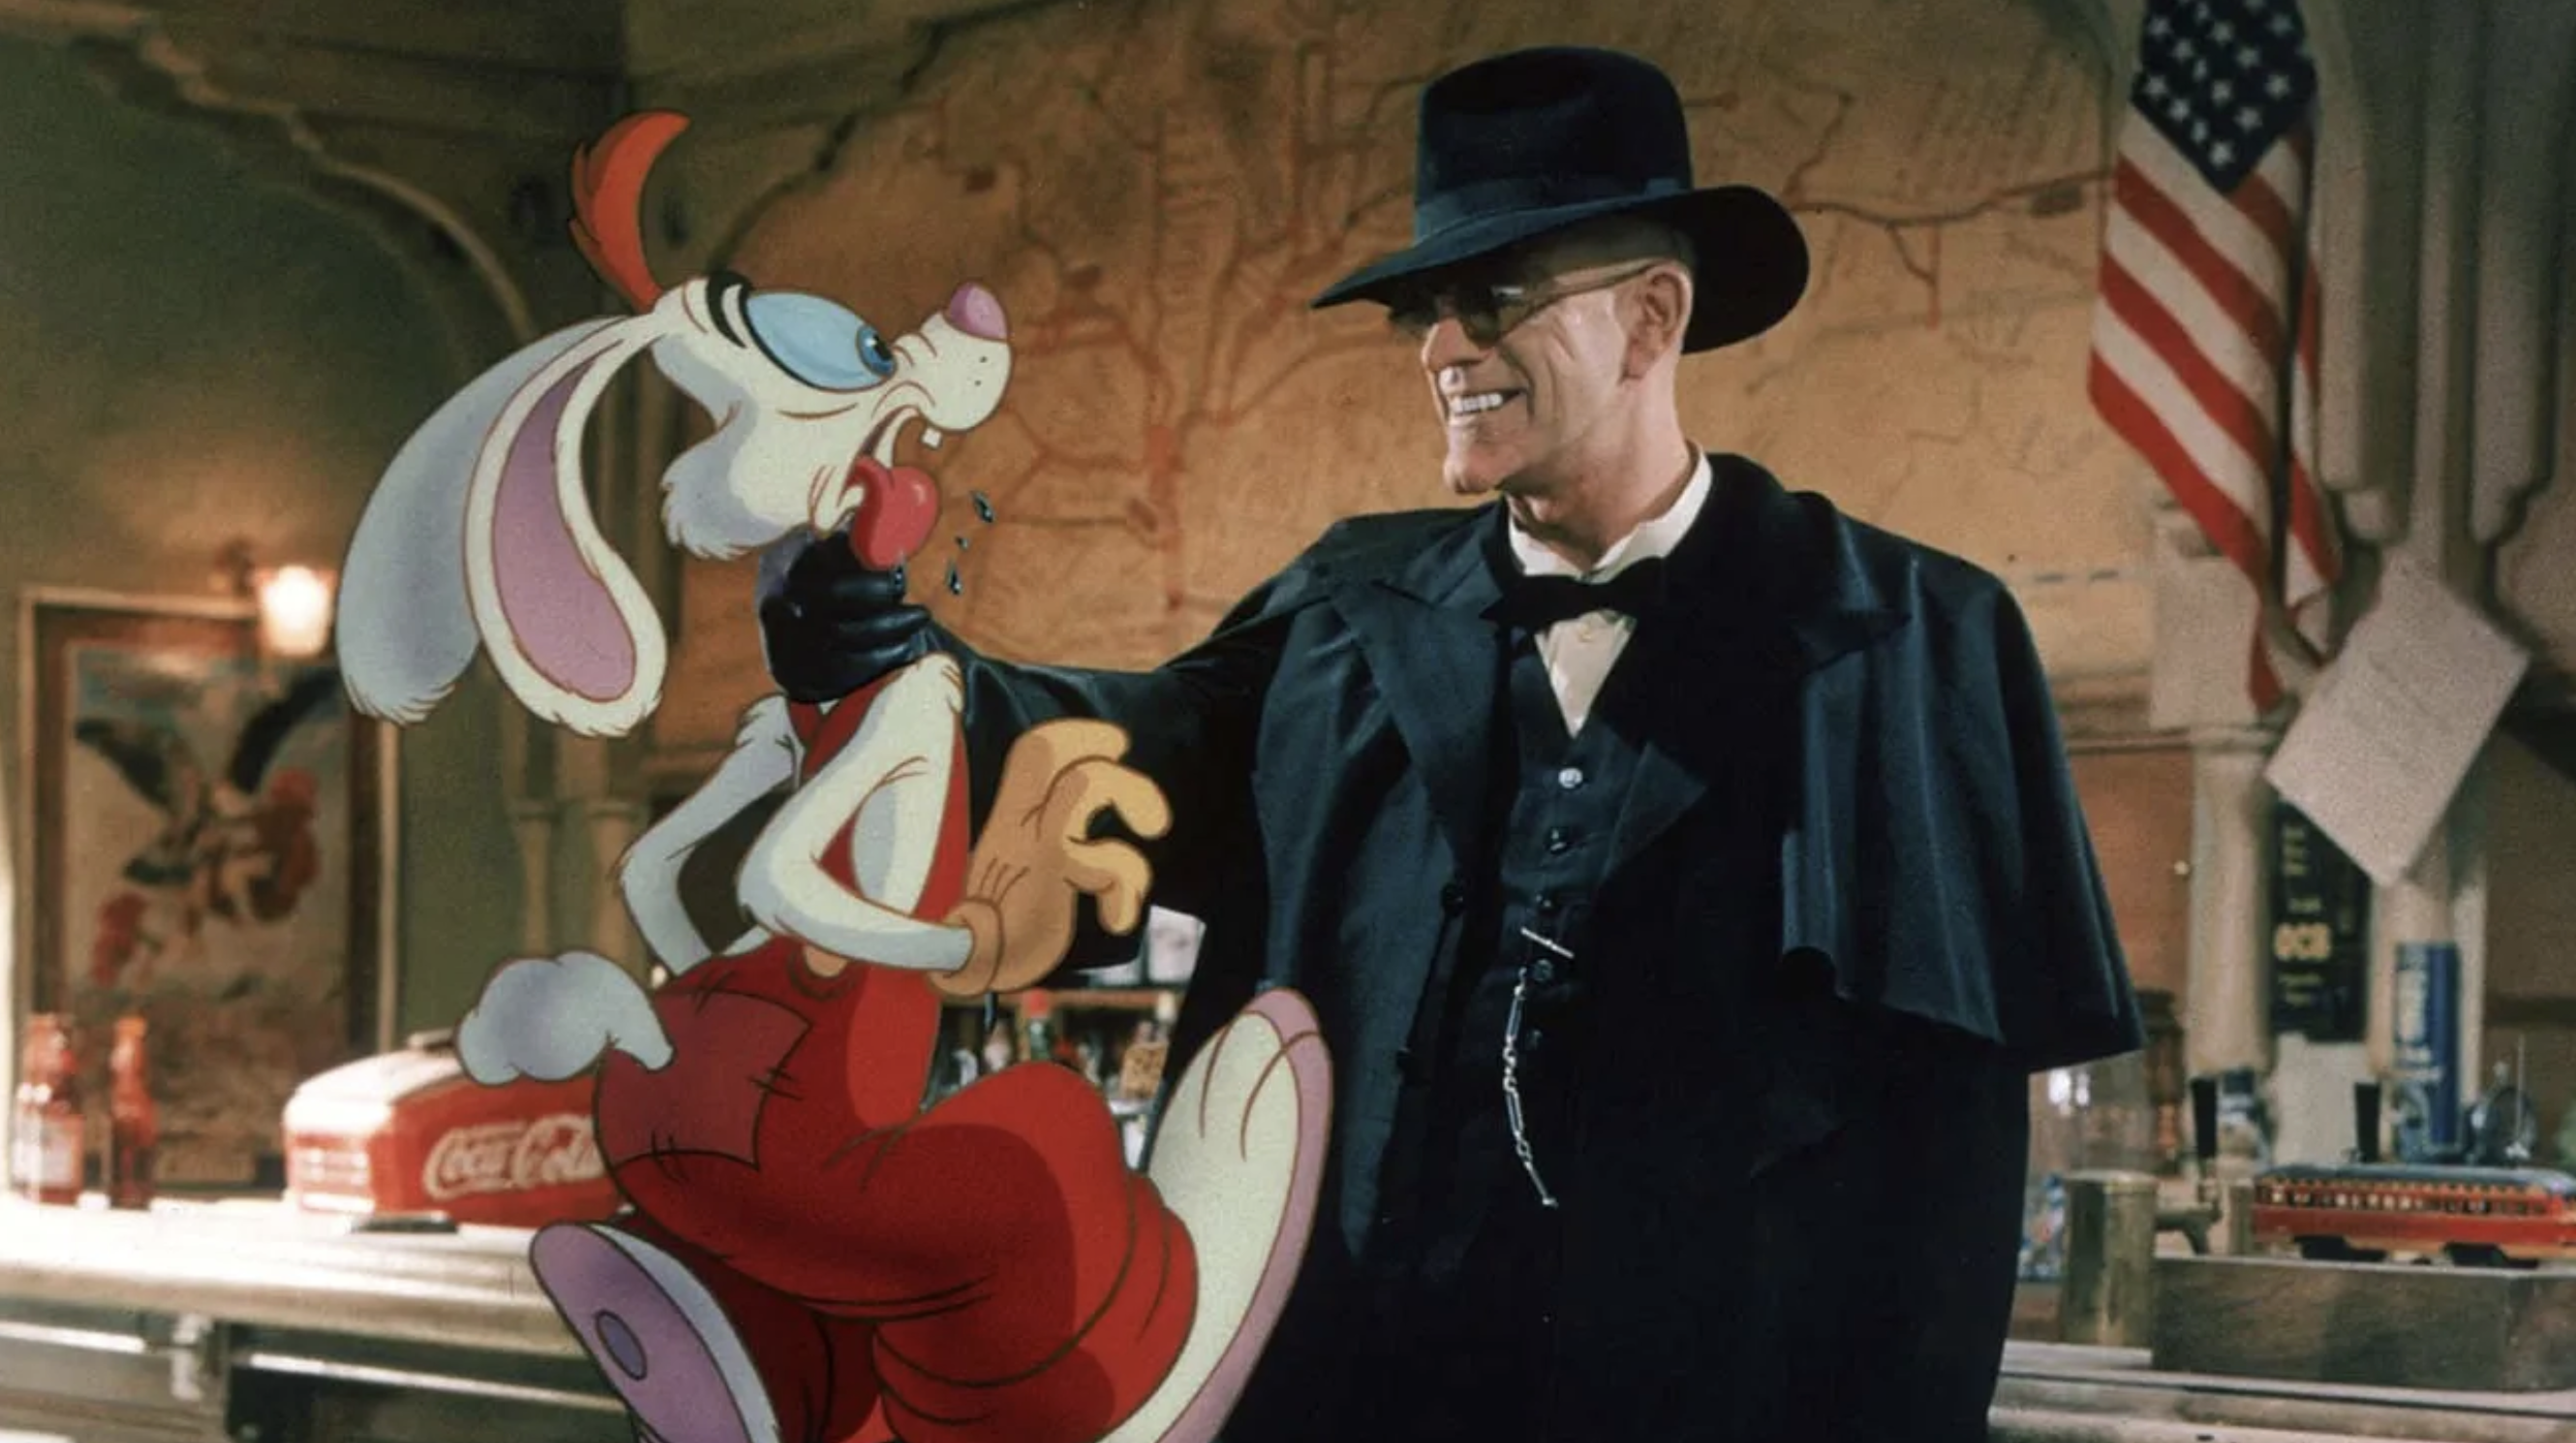
Live action animated movies like Space Jam and Who Framed Roger Rabbit result in a hybrid world where cartoon and live action figures co-exist. The illustrated characters interact with real actors and environments.
Other fully-rotoscoped films, like Richard Linklater's Waking Life and A Scanner Darkly, paint over each frame in its entirety. This can result in a particularly "trippy" experience for the viewer, where the motion capture is distorted or augmented by the animators to make it larger than life.
The Challenges of Traditional Rotoscoping
Rotoscoping can be quite time consuming, even among career illustrators using state of the art video editing and animation software. If you're a solo storyteller looking for a quick way to express your ideas, rotoscoping is prohibitively difficult.
Programs like Adobe After Effects, DaVinci Resolve, and Nuke require you to trace individual frames manually. A few seconds of animation can take hours—or even days. That's normal for the industry but poses obvious problems for a hobbyist.
Consistency across frames tends to be difficult to achieve. Minor differences can cause noticeable jitter or flicker in the final illustration. There's a steep learning curve here, making it less accessible to beginners and independent creators.
AI Rotoscoping Software

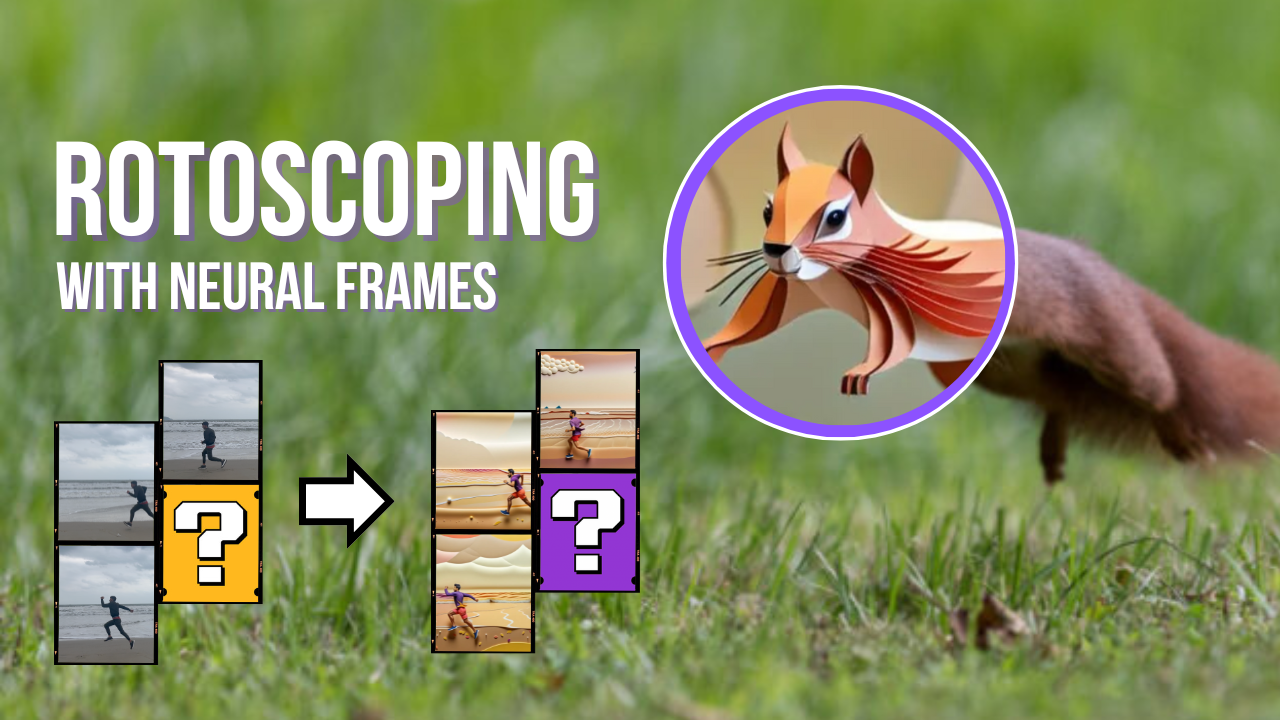
Neural Frames is an AI video generator that can help you achieve impressive frame-by-frame rotoscope-style animations in a fraction of the time.
With this technique, you will be able to upload individual key frames (i.e. images) and use our built-in Stable Diffusion models to illustrate on top of them in less than a minute. Instead of uploading a full video, all you need are still shots.
Neural frames will animate between those stills using text prompts. We provide advanced controls over camera movement, such as zoom, rotation, and pan. You can adjust these settings through simple sliders, making it easy to achieve dynamic visual effects.
You no longer need to trace over individual frames manually, reducing what would usually require weeks of work to a matter of minutes.
In fact, you don't even need to have image references. If you have a vision for a scene but don't have the photos for it, simply use text-to-image prompts and Neural Frames will give you everything you need.
Sign up for a free trial of Neural Frames to try it out yourself.
AI rotoscoping with Neural Frames: A 12-step tutorial
This step-by-step guide is demonstrated in the two minute video walkthrough above. We'll be using the frame-by-frame animation to generate dozens of rotoscoped illustrations per keyframe.
- Grab a few key frames from a video scene you want to rotoscope: On MacOS, hit command + shift + 4 to enter screenshot mode. On Windows, use control + PrtSc. Save and rename each screenshot image file as key1, key2, etc.
- Choose your image model: Start a new project in neural frames and select "upload an image". Use any keyframe that has the aspect ratio you want to use in your project. You'll be re-uploading a starting keyframe in the next step. Now pick an AI image model – we recommend the Juggernaut XL model.
- Upload your first keyframe: Once you're in the neural frames video editor, click on the image icon (located in the upper left quadrant of the editor, near the top right corner). Upload your first keyframe.
- Choose an image style for the rotoscope: Next, click on the "style" tab and you can choose one of our presets or upload your own reference image. Our image model will rotoscope over your keyframe, in the art style that you select.
- Write your text prompt: Type up a brief description of what you want to see in the image. You can ask for specific colors and visual elements that aren't in the original keyframe.
- Zero out the camera angle: Click on the "zero" button to neutralize the camera angles. We want to avoid any zoom, pan or rotation in order to paint directly over the cell in this AI rotoscoping technique.
- Reduce strength slider: Set the strength to 0.35 to get a good amount of visual variety without losing the shape of your character and backdrop.
- Generate short video clips and screenshot your favorite key: Hit the generate button to create a short clip. If you like the visual style, expand the video to full screen and take a screenshot. Rename the rotokey1, or anything simple that will differentiate it from the original reference key.
- Repeat for each reference keyframe: Double click the "add new element" region on the video timeline. Then repeat steps 3 and 8 until you have an illustrated version of keyframe saved.
- Use the Runway image-to-video model: Now that you have your illustrated keys, create a new neural frames project and this time choose the RunwayML model.
- Upload your start and end keys: Double click the "start" and "end" key frame areas to upload your rotoscoped keys. Choose the 5 second option and hit generate to animate between them.
- Repeat for all keyframes: Continue step 11, using keys 2 and 3 for the next clip and generating that video immediately after the first clip. We recommend leaving the text prompt blank. If you're not happy with Runway's output, you can continue to hit generate until it gives you what you want. Sometimes it gets the motion wrong several times and then suddenly gets it right.
When you finish rotoscoping the scene, navigate to the upper right corner and hit the export button to save your video clip. Download and rename the file for safe keeping on your hard drive. You can stitch the scenes together in any nonlinear editor when you're ready to start editing the film.
Alternative: AI rotoscoping for masked layers
Rotoscoping has a second meaning in the industry. In layman's terms, you could compare this to a green screen effect. These tools are not used for generating trippy animations like in Neural Frames. Rather, they are used to create mask layers, so that editors can grab elements from a moving video and isolate them.
Mask Prompter from BL Plugins is an AI-powered After Effects tool that generates mattes from text prompts. Traditional methods require manual masking or tedious rotoscoping, but Mask Prompter automates this process, making it faster and more intuitive.
The plugin works by selecting objects described in text prompts, allowing users to bypass complex manual tasks like drawing masks or using the Roto Brush tool.
In the tutorial, the presenter demonstrates how Mask Prompter quickly isolates a car from a scene using a simple text prompt.
With GPU acceleration, users can choose between Fast and High-Quality modes, depending on their system’s capability. Additional features like Edge Enhancement help refine the matte for a cleaner result.
As we mentioned before, the classic animated kid's movie Space Jam combined live action with rotoscoped cartoon characters. Bugs bunny was hand painted onto transparencies and superimposed on real video footage. This aligns with the green screen rotoscoping technique we've been describing in this section.
There are a few other AI rotoscoping software tools in this niche, including the web app from Vidio.ai and RunwayML. If you're trying to isolate visual elements from a video, rather than create full-blown animations, check out this complete list for more options.
Examples of rotoscoping in films and games
Now that we've covered the two most common types of AI rotoscoping software, let's get back to the roots of the technique. In this final section we're going to share some classic examples of films and video games that used this technique.
The "scramble suit" scene from the 2006 film Scanner Darkly is a great example of what Neural Frames can help you achieve with AI rotoscoping. The trippy frame-by-frame effect of the suit combined with the panning and zoom are achievable today with the right prompts, strength settings and camera settings.
One of the most famous uses of rotoscoping in gaming history, Prince of Persia revolutionized animation with fluid character movement. You can watch an example of this in the short documentary above.
Creator Jordan Mechner filmed his brother running, jumping and climbing. Then his team traced that footage frame by frame to create the main character's realistic animations. We modeled the neural frames demo above on a similar principle, accelerating the process by using Runway to animate between keyframes.
You can explore a list of the best rotoscoped films of the 21st century here.
Sign up for your free neural frames account today and give it a shot to get some experience animating. At only $19/month, you'll be able to create content at speeds and volumes that would have unimaginable previously!
No VC money, just a small, hard-working team, in love with AI music videos.